
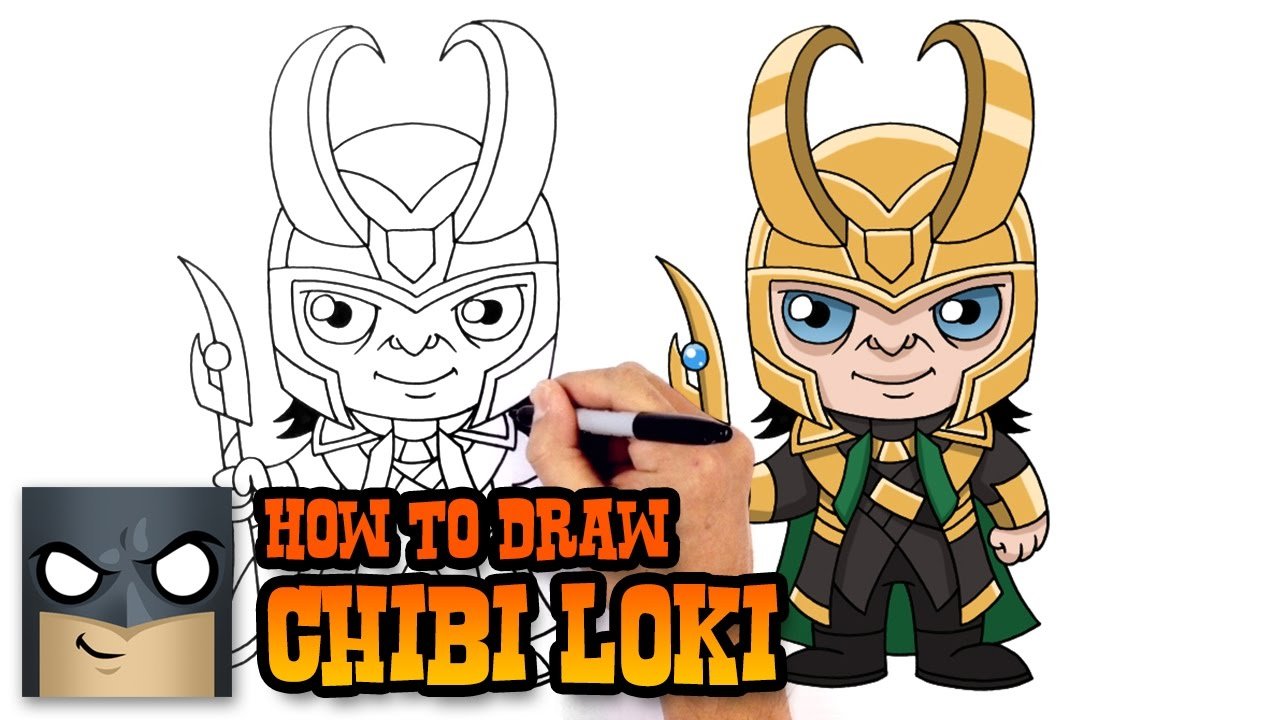
To draw Loki, start by sketching his mischievous grin and sharp features. Capturing his sly expression is key. Next, outline his iconic helmet with curved horns for a powerful look. Add intricate details like his green and gold attire for authenticity. Enhance the drawing with shading to bring depth and dimension to this Marvel character. Let’s dive into the steps to master how to draw Loki effortlessly.

How to Draw Loki: A Step-by-Step Guide for Kids
Introduction
Welcome to our step-by-step guide on how to draw Loki, the mischievous and cunning Norse god of mischief! Whether you are a beginner or a budding artist, this tutorial will help you create your own masterpiece of this iconic character from Norse mythology. Grab your pencils, paper, and let’s get started!
Materials You Will Need
Before we dive into drawing Loki, make sure you have the following materials ready:
– A pencil
– Eraser
– Drawing paper
– Colored pencils or markers (optional)
Step 1: Basic Outline
Let’s start by drawing the basic outline of Loki’s face. Begin with an oval shape for the head and add two vertical lines to mark the center of the face. Draw a horizontal line across the center to help place Loki’s eyes and nose.
Pro Tip:
If you’re having trouble with the proportions, you can lightly sketch these guiding lines to help you place the features accurately.
Step 2: Facial Features
Next, let’s add Loki’s facial features. Draw two large circles along the horizontal line for his eyes. Add smaller circles inside for the pupils and eyebrows above each eye to give Loki a mischievous expression. For the nose, draw a small triangular shape below the eyes.
Step 3: Hair and Helmet
Loki is often depicted with flowing, dark hair and a distinctive horned helmet. Draw wavy lines around the face to create his hair, flowing down to the shoulders. Add two curved lines on top of his head for the horns of the helmet.
Pro Tip:
You can add more detail to Loki’s helmet by drawing intricate patterns or designs on the horns.
Step 4: Clothing and Accessories
Now, let’s give Loki his iconic attire. Draw a high collar around his neck and add details like a pendant or necklace. Don’t forget to include any other accessories or embellishments you associate with this legendary character.
Step 5: Final Touches
Once you have completed the main features of Loki, it’s time to add the final touches. Go over your drawing, refining lines and adding more detail as needed. Erase any unnecessary guidelines and smudges to make your drawing crisp and clean.
Pro Tip:
You can experiment with different expressions, poses, and styles to make Loki your own unique creation!
Coloring (Optional)
If you have colored pencils or markers, you can now add color to your drawing of Loki. Get creative with his outfit, hair, and accessories. Remember, there’s no right or wrong way to color Loki – let your imagination run wild!
Congratulations! You have successfully learned how to draw Loki, the god of mischief. Remember, practice makes perfect, so keep honing your drawing skills and exploring your creativity. Feel free to share your Loki drawings with us – we’d love to see how your masterpiece turned out!
So, grab your art supplies, channel your inner artist, and have fun bringing Loki to life on paper! Remember, the key to drawing is to enjoy the process and let your imagination soar. Who knows, maybe Loki himself would be impressed with your artistic skills!
How to Draw Loki | The Avengers
Frequently Asked Questions
How can I draw Loki’s iconic helmet?
To draw Loki’s iconic helmet, start by sketching the basic shape of a horned helmet on your paper. Pay attention to the curved horns that point upwards. Add details like intricate designs or patterns to make the helmet look more authentic. Make sure to refine the lines and add shading to give it depth and dimension.
What are some tips for drawing Loki’s mischievous smile?
When drawing Loki’s mischievous smile, focus on creating a sly and cunning expression. Start by sketching the outline of his smile, emphasizing the curve of his lips. Add subtle details like raised eyebrows and a slight tilt of the head to enhance the mischievous look. Pay attention to the eyes as well, as they can convey a lot of emotion.
How can I capture Loki’s charismatic and enigmatic personality in my drawing?
To capture Loki’s charismatic and enigmatic personality, focus on his posture and facial expressions. Draw him with a confident stance and a slight smirk to convey his charm. Pay attention to his eyes and try to give them a mysterious and captivating look. Consider adding subtle details like flowing hair or a cape to enhance his charismatic aura.
Final Thoughts
To draw Loki, start by sketching his distinctive features like the mischievous expression and his iconic helmet with horns. Focus on capturing his sly personality through dynamic poses and body language. Use references from the comics or movies to ensure accuracy. Practice detailing his elaborate outfit, incorporating intricate designs and textures. Experiment with different art styles to find one that brings out Loki’s character. Remember, mastering how to draw Loki takes practice and patience. Happy creating!